Acherontia's Solo Mount-Running Guide for Hunters
Posted: Tue Oct 19, 2010 10:28 pm
0. Introduction
(Basic Info, Spec, Pet Choices)
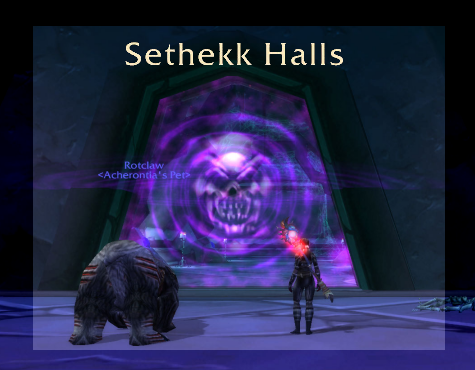
1. Sethekk Halls
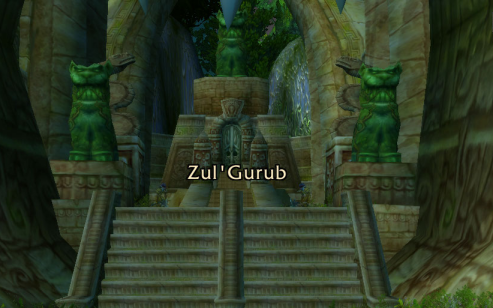
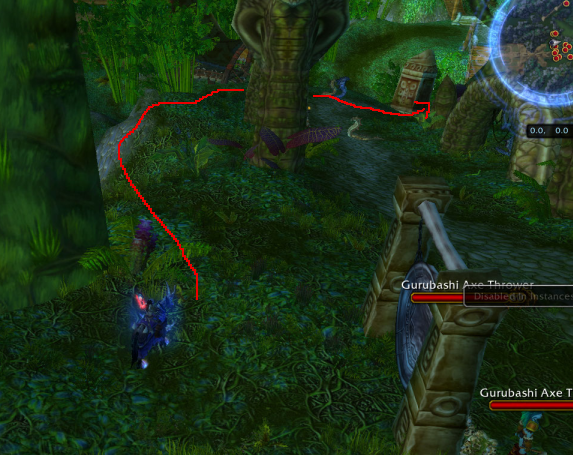
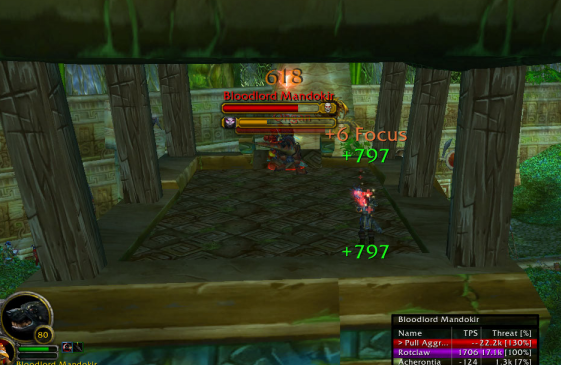
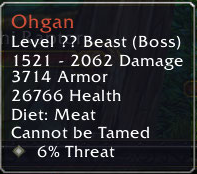
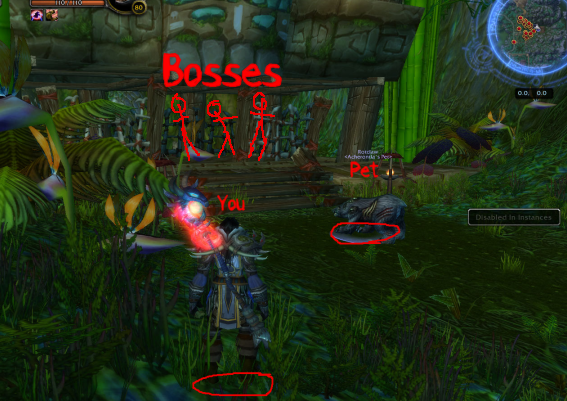
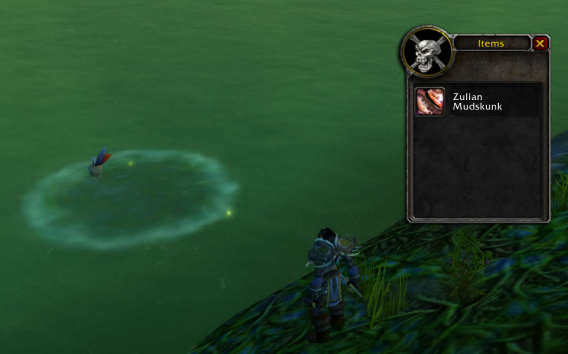
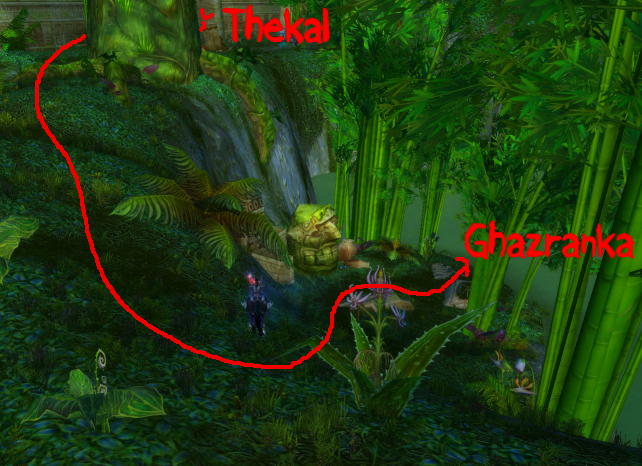
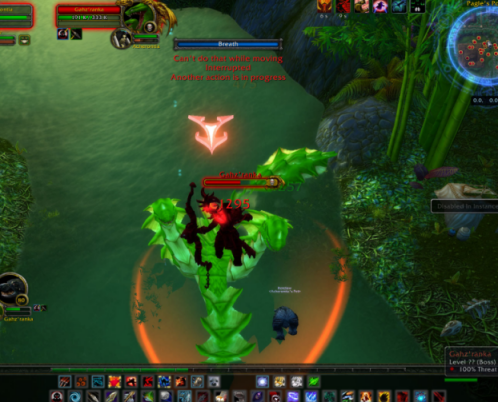
2. Zul'Gurub
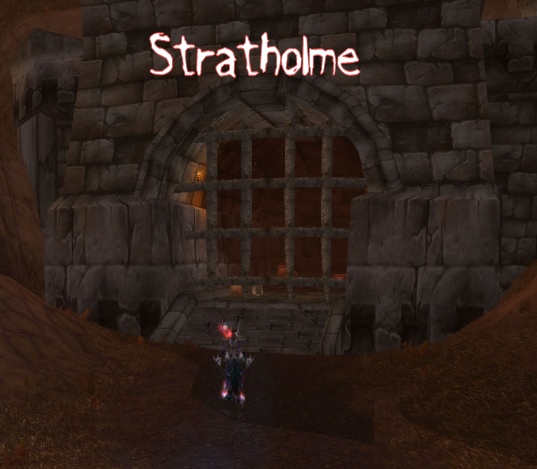
3. Stratholme
4. Karazhan
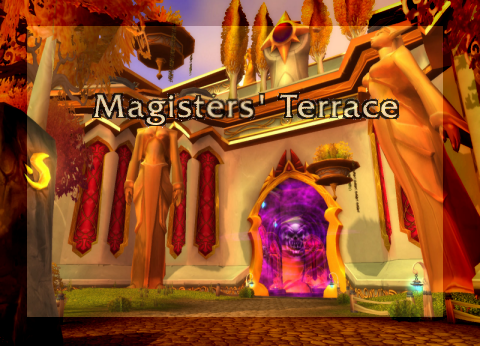
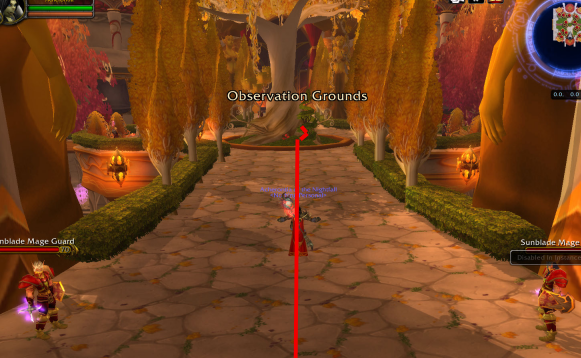
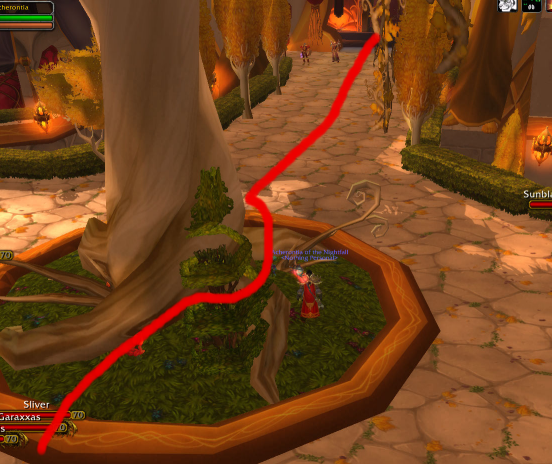
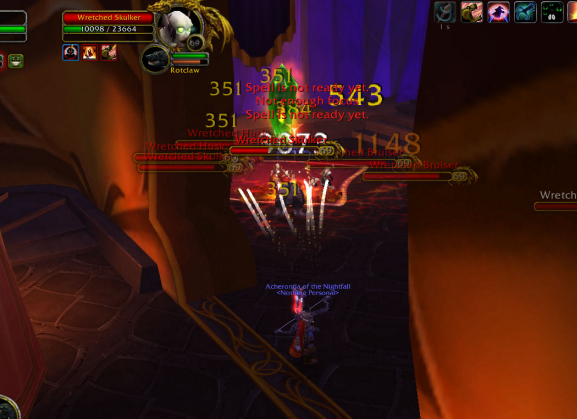
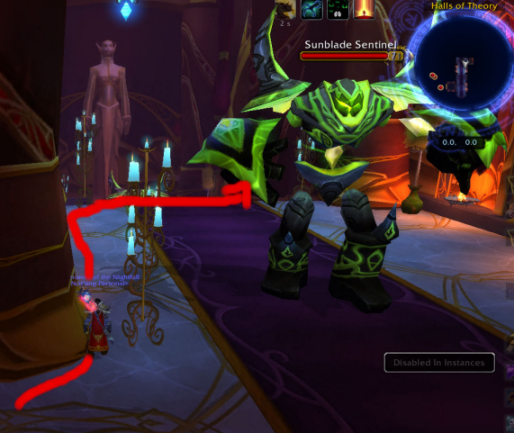
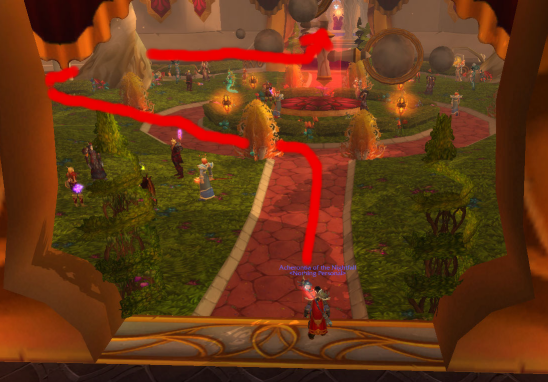
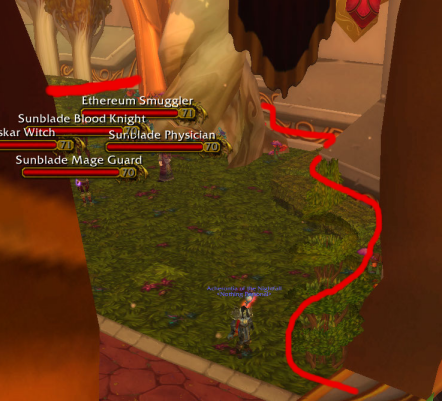
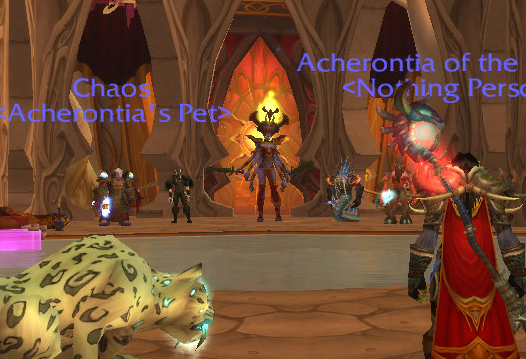
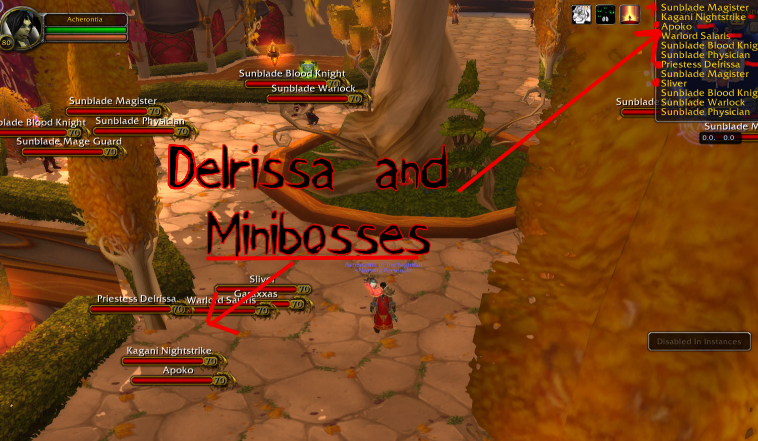
5. Magister's Terrace
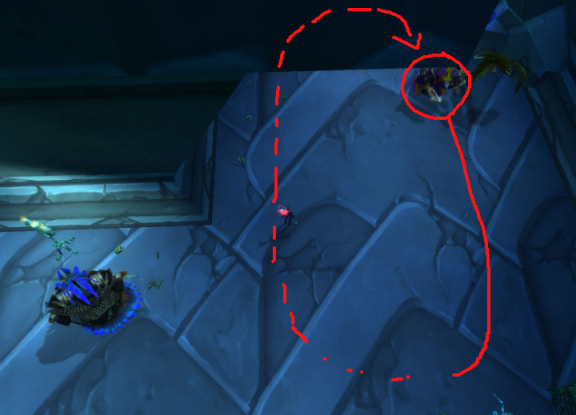
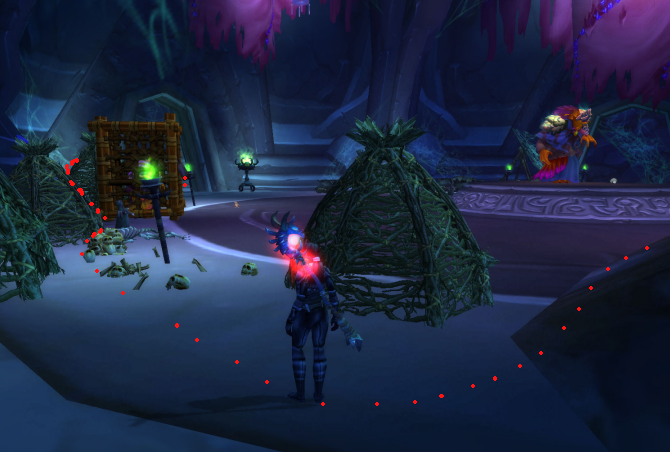
Hello, and welcome to Acherontia's Solo Mount-Running Guide for Hunters. In this guide, I'm going to cover the basics of soloing old WoW content as a hunter, and offer brief guides on how to run the mount-dropping bosses in Sethekk Halls, Zul'Gurub, Karazhan, Stratholme and Magister's Terrace quickly and efficiently. The maps are -not- mine, but the screenshots and text are. Note this is how I've always done these, and it works for me; you may know of a better way, or one that works better with your style. If you don't, though, you can use this guide as a starting point!
Questions, comments and suggestions are welcome!
Basic Info:
If you're wanting to solo old content, here's what you'll want:
* A decent pet (see the Pet Choice section for more)
* Food and bandages
* Glyph of Feign Death
* Glyph of Misdirection
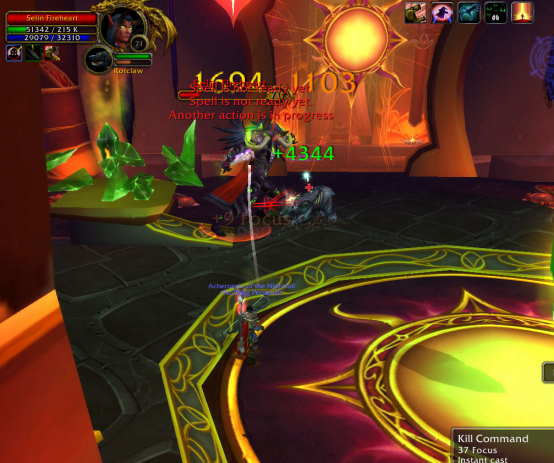
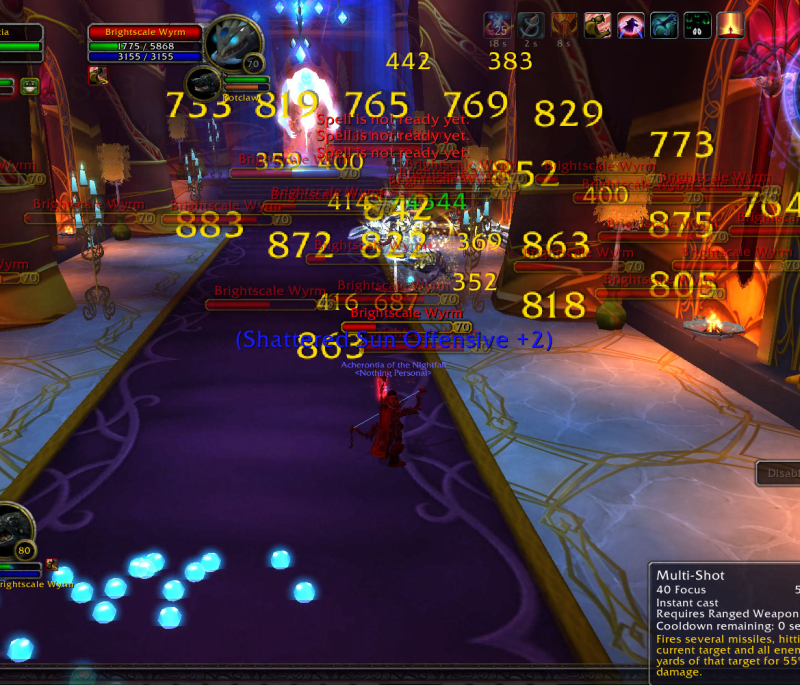
You can probably do without one or all of these things, but they'll make your life a lot easier. A good pet can hold aggro on multiple mobs--it isn't so much the tanking ability of the pet that's important so much as the talent Thunderstomp, so make sure your tenacity pet has it. Again, you could make do without--Misdirection and AoE works--but it makes it easier. Food and bandages minimize your downtime if you do take a few nasty hits, and Feign Death allows you to skip trash you might otherwise need to clear (or accidentally pull and would rather dump). The glyph allows you do do this more often. The Glyph of Misdirection allows you to MD constantly onto your pet. Also of use might be Lesser Invisibility Potions. These let you skip entire sections of dungeons you'd rather avoid.
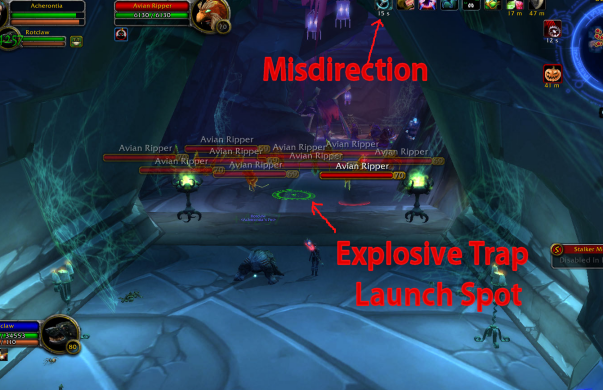
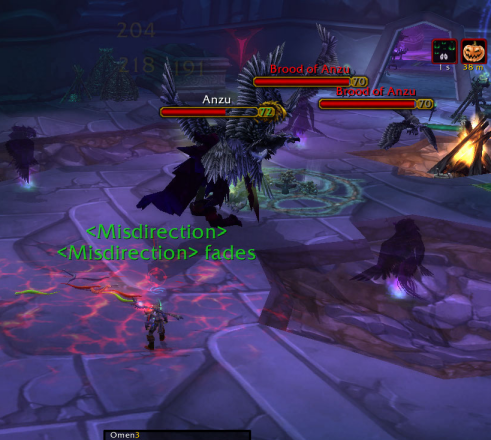
A focus macro (such as the following), with your pet set on Focus, will allow you to quickly and easily transfer some threat to your tanking pet. Use this, keeping in mind to watch Mend Pet and your aggro (the Omen threat meter addon is a huge help here), and you should have few problems soloing.
#showtooltip Misdirection
/cast [target=focus,help] Misdirection
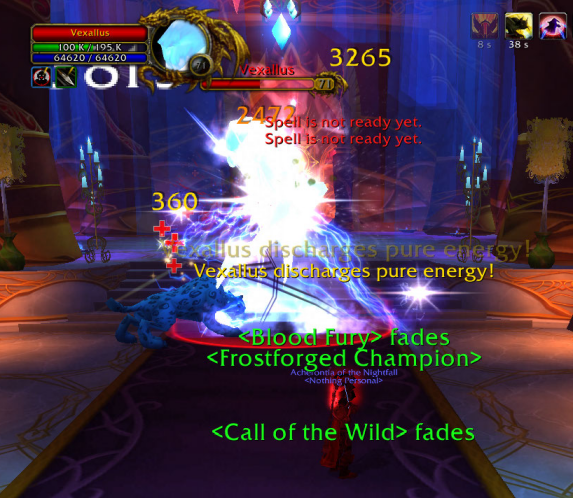
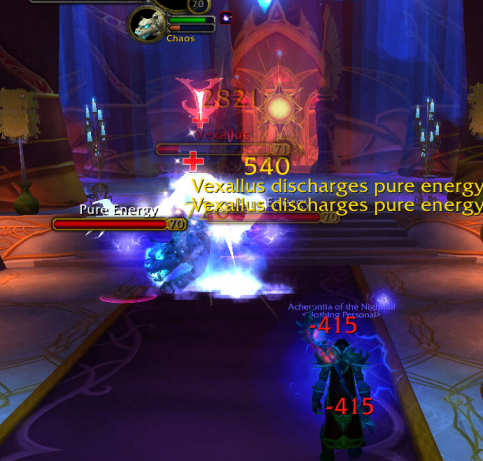
Deterrance can be used in a couple creative ways. First of all, if your pet is getting low on health, you can use a Distracting Shot followed by Deterrance (be sure to use the shot first, as you cannot shoot during Deterrance) to tank the mob while Mend Pet ticks heal the pet up a bit. Feign Death once Deterrance has run out. Another way to use Deterrance is if you get into trouble: Deterrance + Dismiss Pet, and then Feign Death, can keep both you and the pet from dying.
For Spirit Beast soloing, a macro like
#showtooltip Spirit Mend
/cast [target=[player,help] Spirit Mend
can easily heal any extra damage on you while your Mend Pet ticks on the pet.
One final note: when moving about through a dungeon, it's generally best to Dismiss your pet until you are ready to fight. The reason for this is that if you get aggro, you can easily Feign Death somewhere safe without worrying about your pet aggroing, dying and perhaps getting you killed in the process. Simply stealthing a pet who can Prowl rarely works; mobs seem to see them anyway, and some buffs castable while stealthed will aggro the pet unless you manually enable and disable them; it's easier just to dismiss and recall.
Spec, etc:
A Beast Mastery spec is generally the easiest way to solo; it allows your pet to do more damage, thus keeping aggro on the mobs, and allows it to take more punishment from the tougher bosses without dying. PvP gear that boasts high Stamina can be helpful in keeping you and your pet alive. For talents, Hunter vs Wild (in Survival; easily obtainable by BM or MM hunters) and Spirit Bond (BM) will help the hunter and pet stay alive longer. For Ferocity pets, Bloodthirsty, Heart of the Phoenix and Lick Your Wounds will help the pet stay in the game longer, and for Tenacity pets, Blood of the Rhino, Last Stand, Guard Dog and Silverback, along with the Avoidance and Stamina talents, will help it rival even a player tank in survivability. Cunning pets boast similar stamina and avoidance talents, albeit less of them, and can also take Cornered for less damage taken at low health. In the end, though, Hunters are strong enough that any spec and any pet, in any gear, when played correctly, can probably solo--well, duo--just about anything that can be soloed. These are simply guidelines for an easier time.
Pet Choices:
There are many pets a player can solo with; in fact, any pet can probably do most of the content required for rare mount runs. However, a few can do it better than others, and for players new to soloing, hesitant about their skill or gear, or simply wanting to play it safe, some pets are a better choice. I will touch on the top choices for Ferocity and Tenacity; there's far too many pet families to go through them all and rate them in a simple soloing guide.
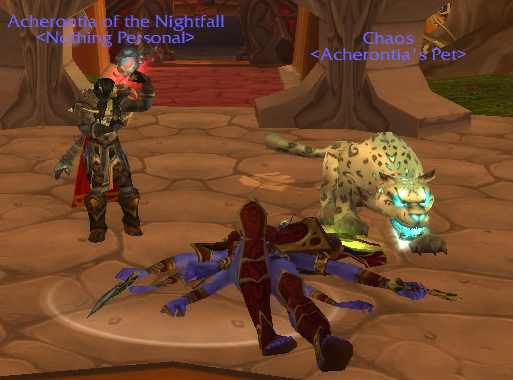
For Ferocity Pets, Spirit Beasts are the obvious choice right now. Their heal is quite strong, and can be used on the player as well as the pet--so for fights with unavoidable AoE or dots placed on non-tank players, the Spirit Beast really shines. Carrion Birds have an AoE attack power reduction similar to a bear or druid tank's Demoralizing Roar/Shout. The benefit of using a Ferocity pet is that fights go faster, and a Ferocity pet can do quite a high amount of damage and threat.
In the Tenacity department, Turtles are top-notch. They have an ability to reduce their incoming damage taken, which for fighting a hard-hitting or enraging boss can be a lifesaver. Bears are excellent as well, for the same reason as carrion birds: their AoE attack power reduction can be helpful. Worms have an excellent, extremely high-dps AoE ability to help them keep aggro on--and quickly clear--large groups. A Tenacity pet will be extremely hard to kill, although its damage might be a bit lower than a dps-specced Ferocity pet.
In the end, the pet must fit your playstyle and your preferences. I have personally tanked all of the bosses in question with both Ferocity and Tenacity pets, so it is definitely doable. Try them out and see what works for you!
(Basic Info, Spec, Pet Choices)
1. Sethekk Halls
2. Zul'Gurub
3. Stratholme
4. Karazhan
5. Magister's Terrace
Hello, and welcome to Acherontia's Solo Mount-Running Guide for Hunters. In this guide, I'm going to cover the basics of soloing old WoW content as a hunter, and offer brief guides on how to run the mount-dropping bosses in Sethekk Halls, Zul'Gurub, Karazhan, Stratholme and Magister's Terrace quickly and efficiently. The maps are -not- mine, but the screenshots and text are. Note this is how I've always done these, and it works for me; you may know of a better way, or one that works better with your style. If you don't, though, you can use this guide as a starting point!
Questions, comments and suggestions are welcome!
Basic Info:
If you're wanting to solo old content, here's what you'll want:
* A decent pet (see the Pet Choice section for more)
* Food and bandages
* Glyph of Feign Death
* Glyph of Misdirection
You can probably do without one or all of these things, but they'll make your life a lot easier. A good pet can hold aggro on multiple mobs--it isn't so much the tanking ability of the pet that's important so much as the talent Thunderstomp, so make sure your tenacity pet has it. Again, you could make do without--Misdirection and AoE works--but it makes it easier. Food and bandages minimize your downtime if you do take a few nasty hits, and Feign Death allows you to skip trash you might otherwise need to clear (or accidentally pull and would rather dump). The glyph allows you do do this more often. The Glyph of Misdirection allows you to MD constantly onto your pet. Also of use might be Lesser Invisibility Potions. These let you skip entire sections of dungeons you'd rather avoid.
A focus macro (such as the following), with your pet set on Focus, will allow you to quickly and easily transfer some threat to your tanking pet. Use this, keeping in mind to watch Mend Pet and your aggro (the Omen threat meter addon is a huge help here), and you should have few problems soloing.
#showtooltip Misdirection
/cast [target=focus,help] Misdirection
Deterrance can be used in a couple creative ways. First of all, if your pet is getting low on health, you can use a Distracting Shot followed by Deterrance (be sure to use the shot first, as you cannot shoot during Deterrance) to tank the mob while Mend Pet ticks heal the pet up a bit. Feign Death once Deterrance has run out. Another way to use Deterrance is if you get into trouble: Deterrance + Dismiss Pet, and then Feign Death, can keep both you and the pet from dying.
For Spirit Beast soloing, a macro like
#showtooltip Spirit Mend
/cast [target=[player,help] Spirit Mend
can easily heal any extra damage on you while your Mend Pet ticks on the pet.
One final note: when moving about through a dungeon, it's generally best to Dismiss your pet until you are ready to fight. The reason for this is that if you get aggro, you can easily Feign Death somewhere safe without worrying about your pet aggroing, dying and perhaps getting you killed in the process. Simply stealthing a pet who can Prowl rarely works; mobs seem to see them anyway, and some buffs castable while stealthed will aggro the pet unless you manually enable and disable them; it's easier just to dismiss and recall.
Spec, etc:
A Beast Mastery spec is generally the easiest way to solo; it allows your pet to do more damage, thus keeping aggro on the mobs, and allows it to take more punishment from the tougher bosses without dying. PvP gear that boasts high Stamina can be helpful in keeping you and your pet alive. For talents, Hunter vs Wild (in Survival; easily obtainable by BM or MM hunters) and Spirit Bond (BM) will help the hunter and pet stay alive longer. For Ferocity pets, Bloodthirsty, Heart of the Phoenix and Lick Your Wounds will help the pet stay in the game longer, and for Tenacity pets, Blood of the Rhino, Last Stand, Guard Dog and Silverback, along with the Avoidance and Stamina talents, will help it rival even a player tank in survivability. Cunning pets boast similar stamina and avoidance talents, albeit less of them, and can also take Cornered for less damage taken at low health. In the end, though, Hunters are strong enough that any spec and any pet, in any gear, when played correctly, can probably solo--well, duo--just about anything that can be soloed. These are simply guidelines for an easier time.
Pet Choices:
There are many pets a player can solo with; in fact, any pet can probably do most of the content required for rare mount runs. However, a few can do it better than others, and for players new to soloing, hesitant about their skill or gear, or simply wanting to play it safe, some pets are a better choice. I will touch on the top choices for Ferocity and Tenacity; there's far too many pet families to go through them all and rate them in a simple soloing guide.
For Ferocity Pets, Spirit Beasts are the obvious choice right now. Their heal is quite strong, and can be used on the player as well as the pet--so for fights with unavoidable AoE or dots placed on non-tank players, the Spirit Beast really shines. Carrion Birds have an AoE attack power reduction similar to a bear or druid tank's Demoralizing Roar/Shout. The benefit of using a Ferocity pet is that fights go faster, and a Ferocity pet can do quite a high amount of damage and threat.
In the Tenacity department, Turtles are top-notch. They have an ability to reduce their incoming damage taken, which for fighting a hard-hitting or enraging boss can be a lifesaver. Bears are excellent as well, for the same reason as carrion birds: their AoE attack power reduction can be helpful. Worms have an excellent, extremely high-dps AoE ability to help them keep aggro on--and quickly clear--large groups. A Tenacity pet will be extremely hard to kill, although its damage might be a bit lower than a dps-specced Ferocity pet.
In the end, the pet must fit your playstyle and your preferences. I have personally tanked all of the bosses in question with both Ferocity and Tenacity pets, so it is definitely doable. Try them out and see what works for you!


