
Please note that my technique in doing these is constantly changing. Also, I'm mosly self taught though trial and error. :3
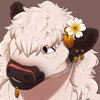
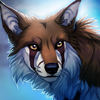
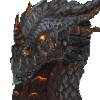
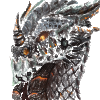
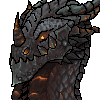
So, first thing's first. Snap a screenshot of the model that you'll be making an avatar of from WoW Model Viewer. I heavily reference colours from said snapshot, and I often directly grab colours from it using the Eyedropper tool. In the past, I used to make multiple screenshots for pose reference, but I now have an awesome dual monitor set up. This means I can have my drawing program open on one monitor with WMV open for reference on the other.
I personally use Photoshop CS5, but one could use any other complex imaging software for this, such as Painter, SAI or GIMP. I also make use of a Tablet (although I suppose you could do something this complex with a mouse, but you would need the mouse drawing skills of some sort of god).
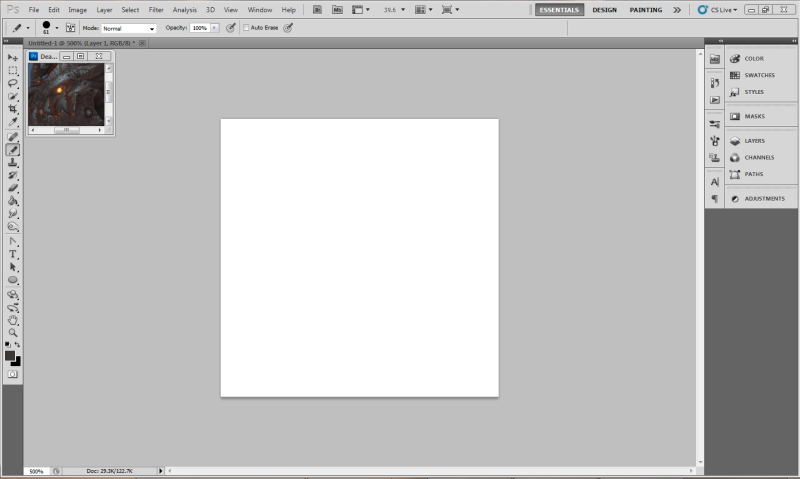
Anyway, create a new 100x100 pixel picture, which is the maximum this forum will allow. Then open up your colour reference pic, which you should move away and shrink to the side.
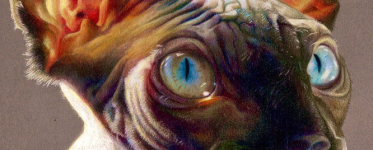
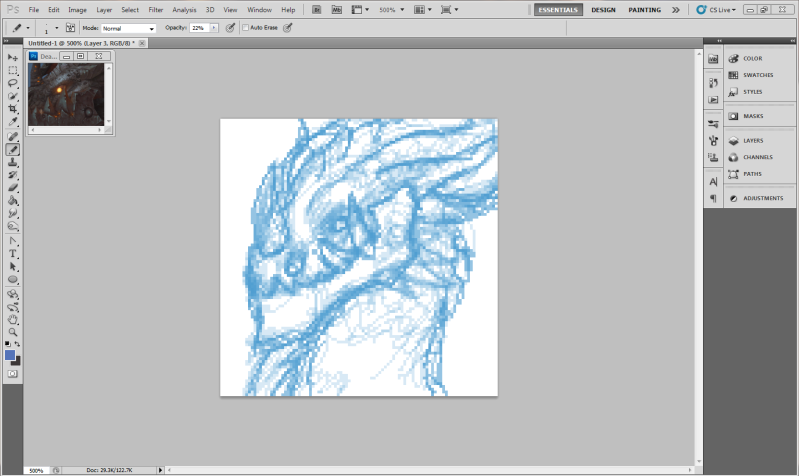
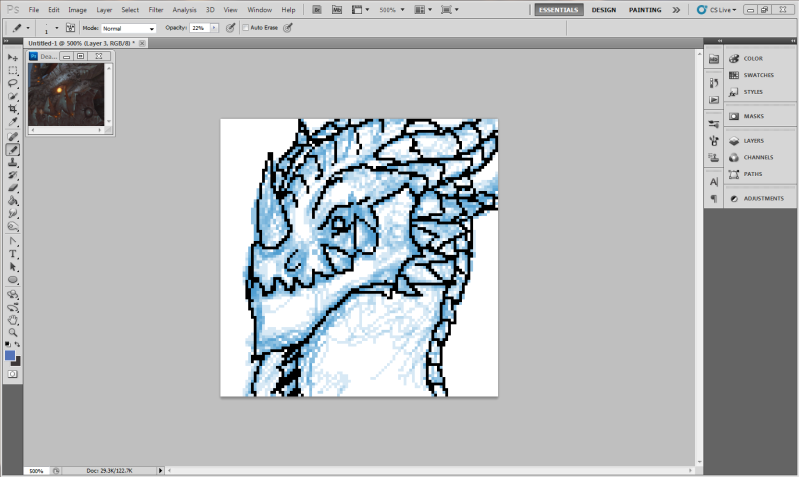
From there, create a new layer to draw on, grab your pencil tool, pick a blue colour and set the tool opacity to around 20%. Zoom in to about 500% size, then sketch out your intended image. I usually pencil in a little detail to get an idea of what it'll look like. (I don't use pressure sensitivity for my pencil tool work. Just so I have a little more control over shading and colouring.)
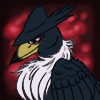
Once you like the where the sketch is going, create yet another new layer. Set the tool back to 100% opacity, change the colour to black and draw the outline. It should be noted that with my outline, I'm actually quite a lazy. Other pixel artists advise you clean up your lines so that they're only one pixel wide, with crisp corners. I tend to ignore that, which makes my lines slightly thicker than normal. Call it a style flaw.
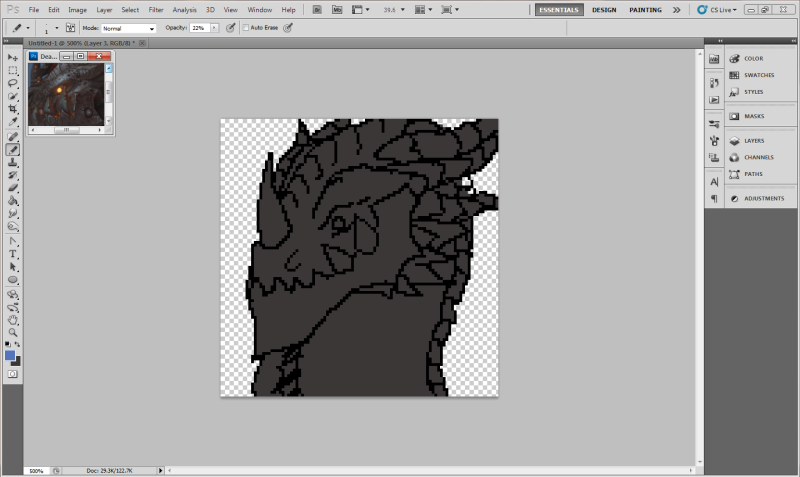
Next, make another layer beneath the outlines and disable the layer you made your lines on. This is where we place our flat colours, which we use as a base for our shading. I used to do all my shading on the same layer, but I've recently changed that to shading on a new layer. If you decide to shade on the same layer, I found it to be useful to lock transparency on said layer (For Photoshop, it's the little square icon on the top left in the Layers window). This just means you can't scribble outside the lines when you're colouring.
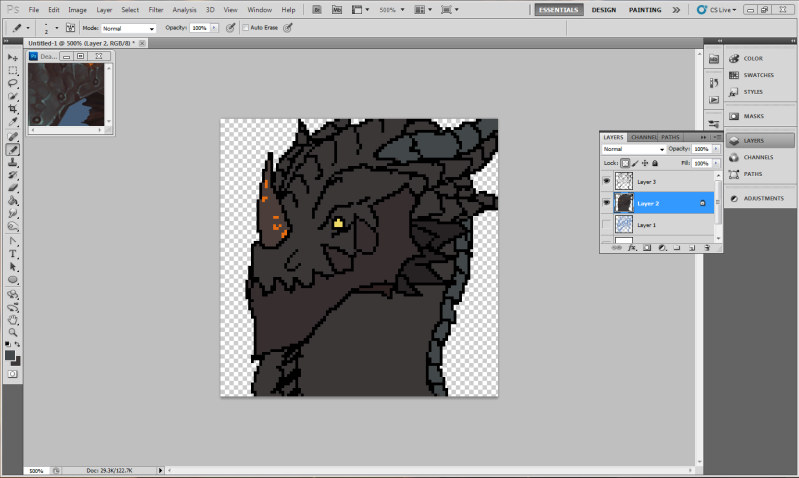
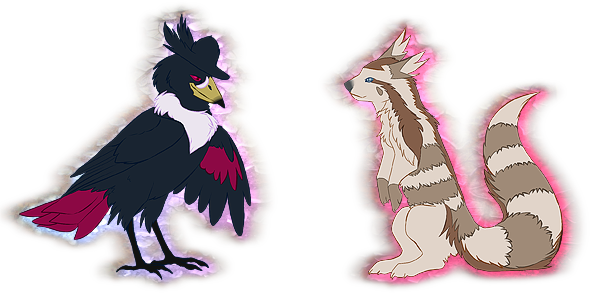
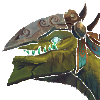
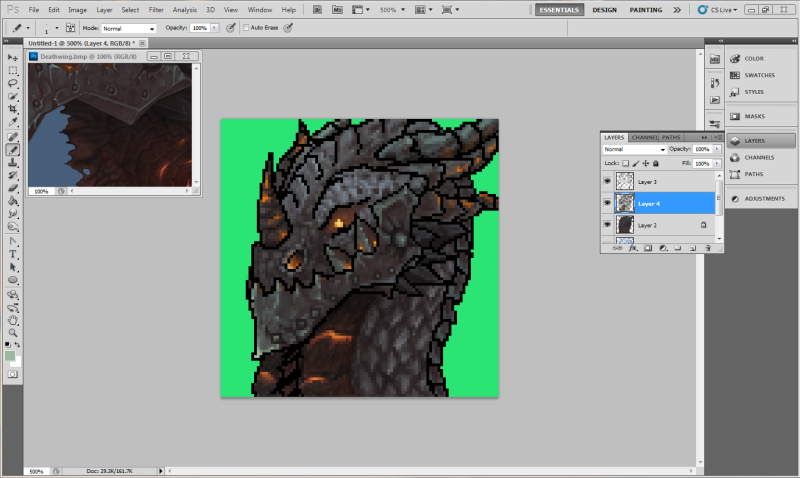
Now, we start on the complicated stuff. First of all, go back to your background and change the colour to something that will contrast with the shading you'll be doing. In my case, I chose a light green. Create your last layer, above the flat colours but below the outline. Now, we start sampling the highlights and shadows from the reference picture. Set your pencil opacity to low, generally 15% (although I end up moving that up or down, depending on how harsh the colour I'm penciling in is). From there, it's a slow process of filling in all the details. Just move slowly and refer back to your reference often. Don't be afraid to go back and change things as you go along, and make sure to zoom back to it's proper size every once and a while. Zoomed in as close as we are here, it can be a little hard to gadge how good it looks actual size.

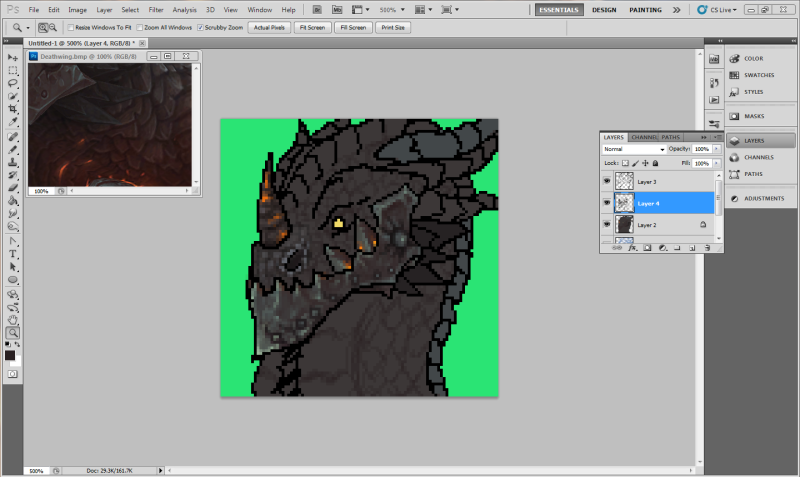

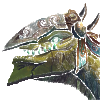
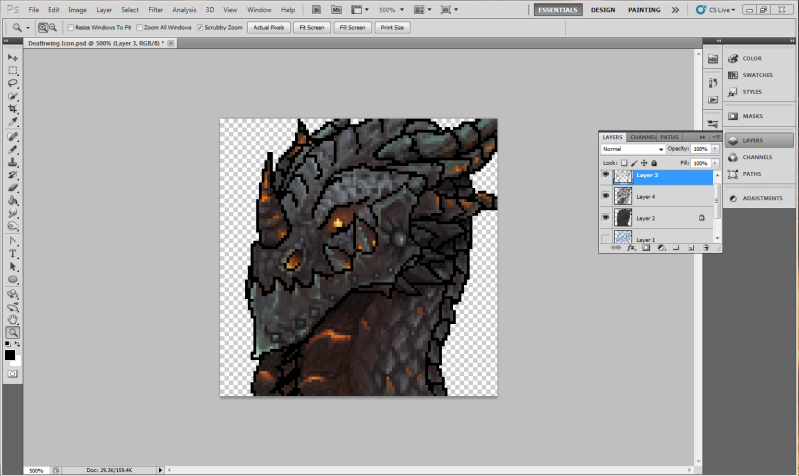
Okay, so we're finally at a mostly finished point. Make sure you clean up any stray shading outside the outline, then disable the background to make it transparent (it'll look like a white and grey checkerboard). Zoom out to have a look, make any last changes. Once you're finished with that, you're done! Save as a PNG for forum use (And another one as the default save type for your program, just in case you need to make any changes).
Hope this sates the curiousity of those who were wondering how I work (and helps those willing to give this a try
(Edited a little for grammar. >.>)